
The Centra Family
Services
For Pros

Windows
How to Remove Screens in Awning or Push Out Style Windows
Geek Level 1

Awning or push-out style windows are designed for easy ventilation and can be equipped with removable screens. Knowing how to properly remove and reinstall these screens will help maintain your windows and improve airflow. In this guide, Centra Install Pros will walk you through the steps to remove the screen for cleaning or other purposes and reinstall it without hassle – it’s easy!
Step-by-Step Instructions: How to Remove Screens in Awning or Push-Out Style Windows
Removing the Screen
Removing the screen from your awning or push-out style window is a straightforward process. Follow these simple steps to safely take the screen out:
- Insert a putty knife: Start by carefully sliding a putty knife between the window frame and the screen, beginning from the bottom edge. Gently push the knife upward along the side of the window.
- Depress the spring mechanism: As you move the putty knife upwards, you will eventually reach the spring that holds the screen in place. By pressing the knife against the spring, it will release the screen from the frame.
- Pop out the bottom of the screen: Once the bottom spring is depressed, carefully pop the bottom of the screen out of the window track.
- Continue to the top: Repeat the same process by sliding the putty knife further up the side of the window to depress the top spring. This will allow you to remove the rest of the screen from the frame.
Pro Tip: If you're removing the screen for cleaning, using a low-pressure hose is an excellent way to rinse off dirt and debris without damaging the mesh.
Reinstalling the Screen
Reinstalling a window screen is just as simple. Here’s how to put it back in place:
- Insert the side without springs first: Begin by positioning the side of the screen that doesn’t have the spring mechanism into the window frame.
- Depress the top spring: Use the putty knife to gently depress the top spring while sliding the top of the screen back into place.
- Move the putty knife down the screen: Carefully slide the putty knife down the edge of the screen, continuing to press on the spring at the bottom.
- Pop the screen back into place: Once the bottom spring is depressed, the screen should pop right back into position within the window frame.
Why Regular Screen Maintenance Is Important
Maintaining the screens in your awning or push-out style windows is essential for both functionality and longevity. Here’s why you should regularly clean and remove your screens:
- Improved airflow: Clean screens ensure that air can flow freely into your home, maximizing ventilation.
- Prevention of damage: Regular screen removal and cleaning help prevent dirt and debris from accumulating, which could lead to the screen becoming damaged over time.
- Enhanced window functionality: Ensuring that the screens are properly installed and free from blockages helps maintain the smooth operation of your windows.
Common Issues and Fixes for Awning or Push-Out Style Window Screens
Here are some common problems you might encounter with your window screens and how to resolve them:
- Screen doesn’t stay in place: If the screen is loose or falls out of the window, check if the spring mechanism is damaged. If necessary, replace the springs to restore proper function.
- Torn or damaged screen mesh: If the screen mesh is torn, it’s important to replace the screen or patch it with a repair kit to maintain its functionality.
- Difficulty removing the screen: If you have trouble removing the screen, it could be due to dirt or debris clogging the spring mechanism. Clean the area around the screen and spring to ensure smooth removal.
Pro Tips for Maintaining Your Awning or Push-Out Style Window Screens
- Clean your screens regularly: Periodically remove the screens and gently clean them to keep them free from dirt and debris.
- Check for damage: Inspect the screen mesh for holes or tears. Repair or replace damaged screens to maintain optimal performance.
- Lubricate the spring mechanism: If you notice that the springs are sticking or difficult to depress, consider lubricating them lightly to improve their movement.
- Choose quality windows: Centra puts the same love and care into our screens as we do into our high-performance, custom-made windows! Designed with the end-user in mind, our products are built to minimize maintenance needs.
FAQ: Remove & Reinstall Awning Window Screens
How do I remove a screen from my awning or push-out window?
To remove the screen, use a putty knife to gently depress the springs, starting from the bottom and working your way to the top. Once the springs are released, the screen can be popped out.
Can I clean my screen without removing it?
While it’s possible to clean the screen in place, removing it allows you to clean both the screen and window frame more thoroughly. Use a low-pressure hose for a safe, effective cleaning.
How do I reinstall the screen in my awning or push-out window?
Insert the side without springs into the frame, then use a putty knife to depress the springs as you slide the screen back into place. Once the screen is properly aligned, it should pop into position.
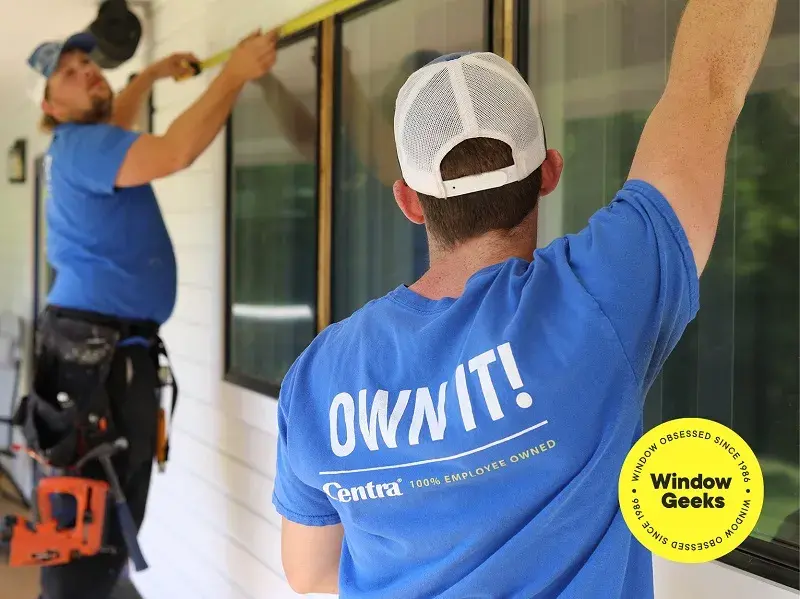
Centra: Western Canada’s Top Choice for Windows & Doors
Have an upcoming window and door project? Reach out to the experts for a free consultation! If you have any questions regarding this topic or anything else to do with windows, contact a local Centra Employee Owner at 1-888-534-3333 or drop us an email at info@centra.ca. Follow us on Facebook and Instagram to stay up to date, and test your window knowledge on LinkedIn.
Recommended for you
Geek Level 1
Windows
How to Remove Screens in Casement Windows
Geek Level 1
Windows
How to Install or Replace a Window Screen Tab