
The Centra Family
Services
For Pros

Windows
How to Remove Screens in Casement Windows
Geek Level 1

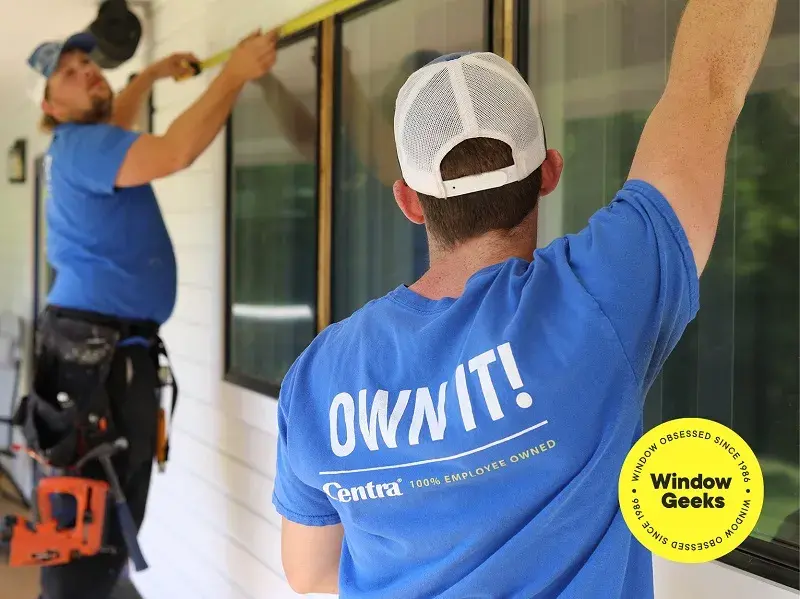
Casement windows are a popular choice for homeowners, offering excellent ventilation and a sleek design. However, over time, the screens on these windows may need to be removed for cleaning, replacement, or maintenance. Luckily, removing and reinstalling the screens on casement windows is a simple process that anyone can do! In this guide, Centra Install Pros will walk you through the steps to make the process quick and hassle-free.
Step-by-Step Instructions: How to Remove and Reinstall Screens in Casement Windows
Remove the Screen from the Window Frame
The first step is to remove the screen from the casement window. This process is usually very straightforward.
- Locate the pull tabs: On one side of the window screen, you’ll find small pull tabs. These tabs release the springs that hold the screen in place.
- Pull the tabs back: Gently pull both of the tabs back at the same time to release the screen from its position.
- Remove the screen: Once the tabs are disengaged, carefully pull the screen to the side to remove it fully from the window frame.
Pro Tip: If you’re removing the screen for cleaning, use a low-pressure hose for a thorough clean without damaging the mesh.
Handle the Screen Carefully
Screens can be delicate, so take care when removing them from the window.
- Don’t force the screen: Avoid applying too much pressure when pulling the screen out. Instead, gently wiggle or maneuver it out of place.
- Hold the frame securely: Keep a firm grip on the frame during the removal process to prevent bending or damaging the screen.
Clean the Screen If Needed
If you're removing the screen for cleaning, now is the perfect time to refresh it.
- Use a low-pressure hose: Rinse the screen with a low-pressure water hose to remove dust, dirt, and debris.
- Wash with mild detergent: If needed, use a mild detergent and a soft brush to scrub away any stubborn grime.
Reinstall the Screen
Once the screen is cleaned or ready for reinstallation, follow these steps to put it back into place.
- Insert the side without tabs first: Start by inserting the side of the screen without tabs into the window frame.
- Pull the tabs: Once the screen is in place, pull the tabs outward. The screen will pop back into position securely.
- Check the screen’s alignment: Ensure that the screen is evenly positioned in the window frame.
Why Regular Screen Maintenance is Important
Regular screen removal and cleaning not only helps to maintain your window’s appearance but also ensures its functionality. Here are some key reasons why screen maintenance is essential:
- Improved airflow: Clean screens ensure that airflow is not obstructed, keeping your room well-ventilated.
- Enhanced aesthetic: Regularly cleaned screens maintain the crisp look of your windows and prevent dirt buildup.
- Preserved window condition: Well-maintained screens prevent dirt from accumulating in the window frame, protecting your window from grime buildup.
Common Issues with Casement Window Screens
Here are some issues that homeowners commonly face with casement window screens, along with tips on how to fix them:
- Torn or damaged screen: If your screen has holes or tears, it’s best to replace the screen entirely. A new screen will restore your window’s functionality and security.
- Loose tabs: If the pull tabs become loose or broken, the screen may not stay secure. In this case, you may need to replace the tabs or the entire screen.
- Stubborn dirt or grime: For tough dirt or grime, consider using a specialized cleaning solution or a soft brush to scrub away buildup.
Pro Tips for Maintaining Casement Window Screens
- Clean your screens regularly: Remove and clean your screens at least twice a year to keep them in top condition.
- Store screens properly: If you need to remove your window screens for the season, store them in a dry, cool location to avoid warping or damage.
- Check for damage regularly: Inspect your screens regularly for any signs of wear or tear, and replace them if needed to maintain the integrity of your window.
- Choose quality windows: Centra puts the same love and care into our screens as we do into our high-performance, custom-made windows! Designed with the end-user in mind, our products are built to minimize maintenance needs.
FAQ: Removing Casement Window Screens
How do I remove a screen from a casement window?
Find the pull tabs on the screen, pull them back at the same time to release the screen, then carefully pull it to the side to remove it from the window frame.
Can I clean my window screen without removing it?
While it’s possible to clean the screen without removing it, it’s generally more effective to remove the screen and wash it thoroughly with a hose or mild detergent.
How do I reinstall a screen in a casement window?
To reinstall the screen, insert the side without tabs into the window frame first, then pull the tabs out to secure the screen back into place.
Centra: Western Canada’s Top Choice for Windows & Doors
Have an upcoming window and door project? Reach out to the experts for a free consultation! If you have any questions regarding this topic or anything else to do with windows, contact a local Centra Employee Owner at 1-888-534-3333 or drop us an email at info@centra.ca. Follow us on Facebook and Instagram to stay up to date, and test your window knowledge on LinkedIn.
Recommended for you
Geek Level 1
Windows
How to Remove and Clean Tracks on Slider Windows
Geek Level 1
Windows
How to Remove Screens in Awning or Push Out Style Windows